


A Complete Guide to the ADU Construction Process
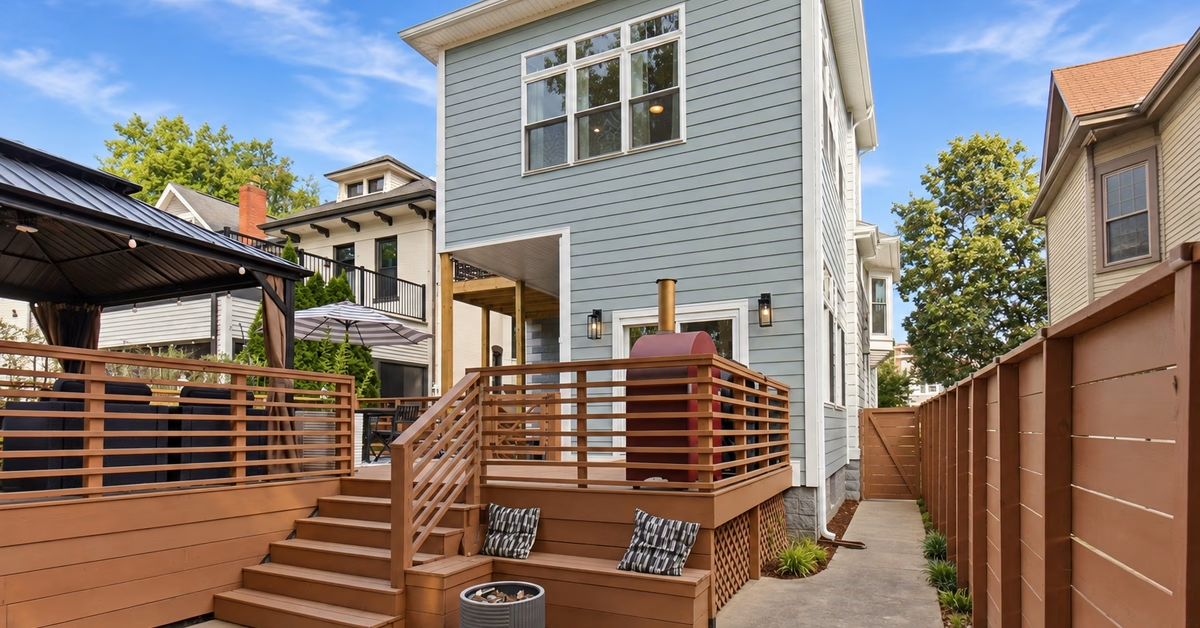
Adding an accessory dwelling unit (ADU) is exciting because the finished space can solve a very real need at home. What is harder to picture is everything that happens between approving a design and opening the door to a completed living space. Understanding the ADU construction process can make those months of activity feel less mysterious and help you understand what each stage accomplishes. While every property and project is different, the work generally moves through a clear sequence from preparation to final inspection.
Plan the Project Before Construction Begins
Construction starts well before anyone begins framing walls. Your remodeling team first needs to understand how you want the ADU to function, whether you are creating private space for a relative or giving your household more flexibility for the future. That purpose shapes the layout and how the new space connects to the rest of the property.
ADUs may be attached to the main home or built as standalone structures. Early planning should account for privacy, access, and how the addition will function as part of the property.
Before crews arrive, settle the following details:
- The intended use of the ADU
- A design that fits the property
- A plan for necessary utility connections
- The permits and approvals required for the project
Zoning and permitting procedures vary by community, so the exact steps depend on the property. An experienced accessory dwelling unit builder can help coordinate those preconstruction details and explain what must happen before work begins.
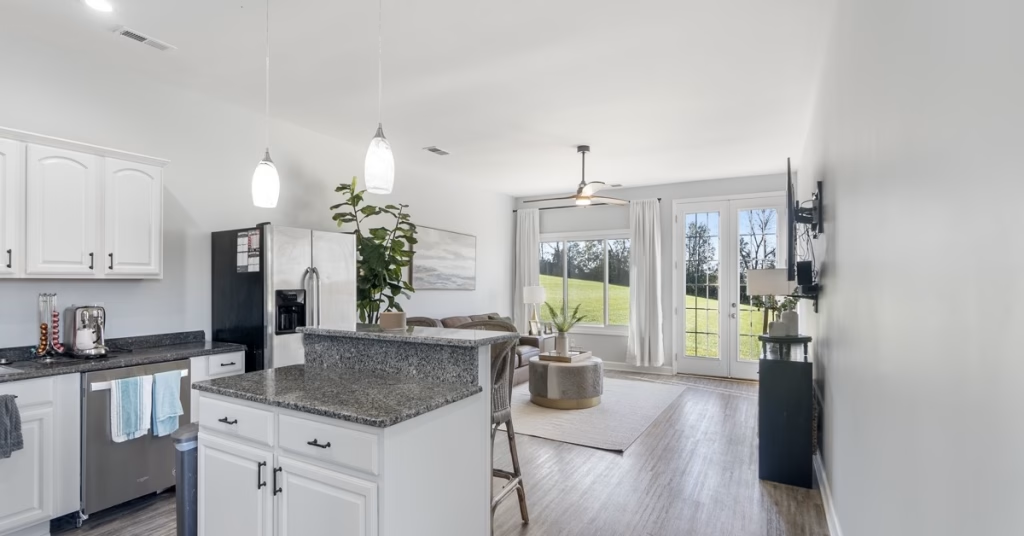
Prepare the Site and Build the Foundation
Once plans and approvals are in place, you can prepare the property for construction. For a detached ADU, that may involve establishing the building area and preparing access for crews and materials. An attached ADU may require extra coordination because the new construction has to tie into the existing home.
Site work can also include excavation or grading when the design calls for it. The foundation or structural base then creates the stable starting point for the structure above. The exact approach depends on the design and site conditions, so homeowners should not expect every ADU to begin the same way.
This stage can look slower than the framing work that follows, but it establishes the dimensions and position of the new space. Once the base is ready, the outline you saw on a plan starts becoming something you can see on the property.
Frame and Enclose the ADU
Framing is often the stage when an ADU suddenly feels real. Walls begin to define rooms, openings show where entrances will go, and the overall size of the living space becomes much easier to understand. If the ADU is attached, framing also establishes how the addition will tie into the existing house.
After the main structure takes shape, the focus shifts to enclosing it. Crews complete the structural shell and add the exterior components needed to protect the building as work continues. This creates a more controlled space for the construction phases that follow.
The visual progress during framing can be exciting, but it is still early in the build. Much of the work that determines how comfortable and functional the ADU will be happens after the structure is standing.
Install the ADU’s Major Systems
Before crews install finished walls, they need access to the spaces where the ADU’s major systems will run. Plumbing lines and electrical wiring are coordinated with the layout while heating and cooling components are prepared for the finished living area. This stage is commonly called the rough-in phase because the systems are installed before their final fixtures and connections are completed.
This phase shows why construction has to happen in a particular order. Closing the walls too soon would make it harder to reach systems that still need installation or review. Depending on local requirements and project scope, inspections may also take place before the work moves forward.
Homeowners may notice that visual progress seems to slow here. A great deal is happening, but much of it will eventually be hidden behind finished surfaces. Good project management keeps the work coordinated so the next phase can begin without overlooking an important step.
Insulate and Finish the Interior
Once behind-the-wall work is complete and the project is ready to move forward, the ADU begins changing from a framed structure into a recognizable living space. Insulation is installed as required by the design, and interior walls can then be closed and finished. Rooms that previously looked like open framing start taking on their final shape.
From there, the focus moves toward the features you will see and use every day. Lighting fixtures and storage elements are installed, followed by doors, trim, and other selected finishes. Decisions made much earlier in the design stage now begin coming together in the same space.
This part of the ADU construction process tends to feel especially rewarding because progress is easy to see. The goal is not simply to make the interior look finished. Each detail should support the comfort and function you planned for at the beginning of the project.
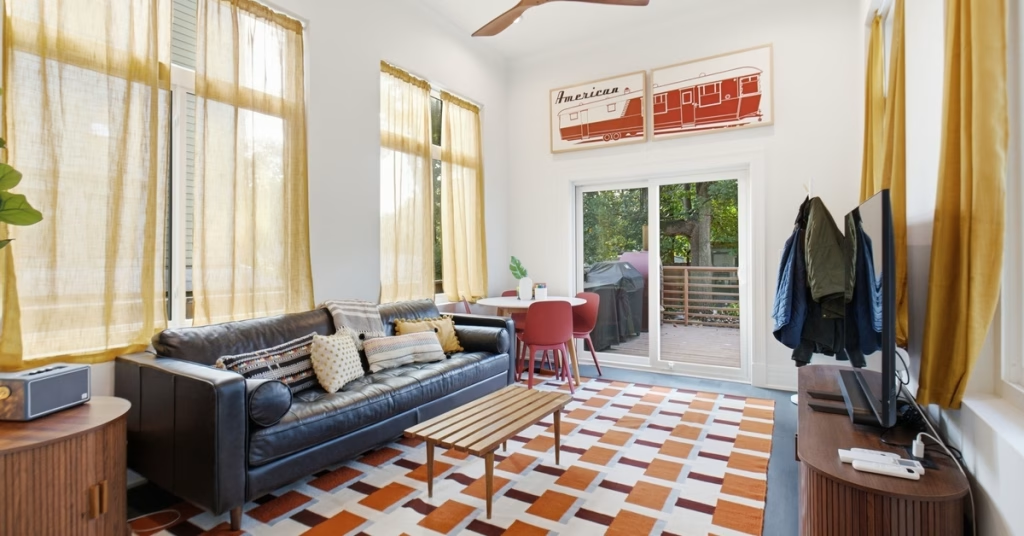
Complete Final Details and Inspections
As major construction winds down, the team turns its attention to final details. The team completes remaining fixtures and finish work, then reviews the space for items that still need attention. The team can then address smaller adjustments before handing over the project.
Required inspections may happen at multiple points during construction, with final approvals depending on local rules and the type of ADU being built. Your remodeling team should coordinate those requirements with the construction schedule. If an inspector identifies something that needs attention, that work must be resolved before the applicable approval is complete.
You should also have an opportunity to walk through the finished ADU with your remodeling team. Use that time to ask questions and review how the completed space functions. A final walkthrough helps make sure you understand the new addition before it becomes part of your everyday routine.
Enjoy Your Finished ADU
Watching an ADU go from plans to a finished living space involves far more than one construction milestone. Each phase prepares the project for what comes next, from creating a stable structure to completing the systems and interior. Knowing what is happening along the way can make construction easier to follow and give you a clearer picture of how the finished space comes together.
Distinctive Design Remodeling helps homeowners throughout Greater Central Kentucky plan and build custom ADUs around the way their households want to live. Our team can guide the design and manage the project as it moves from preconstruction through the final walkthrough. Contact us to request an estimate and start planning an ADU that gives your family useful space for the years ahead.